

LLM Anywhere is a small cross-platform launcher for local language models.
I built LLM Anywhere around a simple question: how much setup should it take to run a language model on my own computer? I wanted to clone a project, start a model, and use it in a browser or VS Code without maintaining a different collection of commands for each operating system.
The project is not a new language model. It is a lightweight wrapper around llama.cpp that helps run GGUF models on Windows, macOS, and Ubuntu. The inference server listens on 127.0.0.1 by default, so the chat interface and API are available on your own machine rather than exposed to the network.
What the project actually does
The setup script downloads a native llama.cpp runtime for your operating system. The launcher then finds .gguf files in the models/ folder, starts a local server, and creates a configuration you can use with Continue in VS Code. You can chat through the browser at http://127.0.0.1:8080, or use the OpenAI-compatible API at http://127.0.0.1:8080/v1.
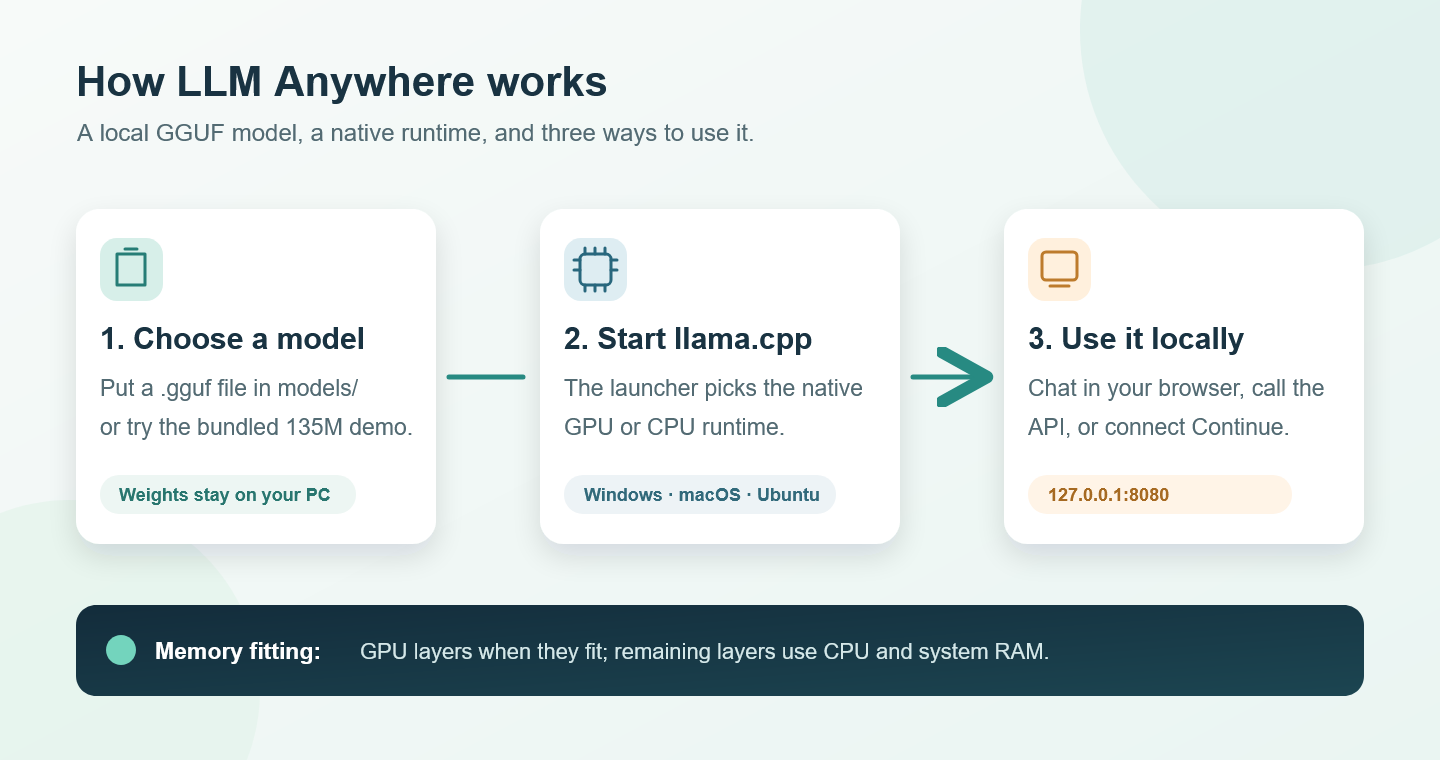
The model file is local; the launcher chooses a suitable runtime, then serves it to the browser, API, or Continue.
Try it with the included model
I added a small model so a fresh clone can actually run before you hunt for a download. It is SmolLM2-135M-Instruct, a roughly 92 MB, Apache-2.0-licensed GGUF file. It is useful for checking that the setup and interface work. At 135 million parameters, though, it is a demo—not a model I would recommend for serious coding or difficult questions.
On Windows 10/11, open PowerShell and run:
git clone https://github.com/SamMousaviES/LLM-Anywhere.git
cd LLM-Anywhere
powershell -ExecutionPolicy Bypass -File .\Setup-Windows.ps1
.\Start-Windows.bat
On macOS or Ubuntu, use a terminal:
git clone https://github.com/SamMousaviES/LLM-Anywhere.git
cd LLM-Anywhere
bash Setup-Mac-or-Ubuntu.sh
bash Start-Mac-or-Ubuntu.sh
Then open http://127.0.0.1:8080 and select SmolLM2-135M-Instruct.Q4_0 in the model picker. The initial setup needs an internet connection to download the runtime; once you have a runtime and model files, inference itself runs locally.
Choosing a more useful model
GGUF is the model file format used by llama.cpp. A model may come in several quantizations: smaller files use less memory, usually at some cost to output quality. A Q4_K_M instruct model is a sensible starting point if your computer has enough memory. The 135M model is intentionally tiny; a 3B–4B model is generally a better starting point for useful chat or focused coding tasks, while larger models need more RAM or GPU memory.
You can download a .gguf file from a trusted model publisher and put it in models/. The model guide explains quantization, approximate sizes, and download options. Read the model card and license too: the project’s MIT license does not replace the license of any model you add.
What happens if the GPU memory is too small?
This is an important detail. When GPU acceleration is available, llama.cpp can fit as many model layers as practical on the GPU and leave the remaining layers for the CPU and system RAM. If there is no supported GPU, the launcher uses a CPU runtime. On Apple Silicon, the CPU and GPU share physical memory, so the situation is different from a discrete GPU with a separate VRAM pool.
Partial GPU offload can make a larger model possible, but it is not magic memory. The machine still needs enough total RAM, and running some layers on the CPU can be slower. If a model does not fit, try a smaller quantization, a smaller model, or a shorter context. You can also set PORTABLELLM_BACKEND=cpu to use CPU inference deliberately.
That is the main idea behind LLM Anywhere: a reproducible way to get a local model running across common desktops, while leaving the choice of model and hardware trade-offs to you. The code and setup instructions are on GitHub. If you try it, I would be interested to hear which model and machine you used.